Pixels Per Inch for Web Apps: Best Practices for Modern SaaS Platforms
If you design or build SaaS web apps you've probably bumped into the term PPI. Pixels per inch seems simple until you try to make a product look sharp across laptops, tablets, and phones. Suddenly you are juggling device pixel ratios, retina assets, vector icons, image formats, and performance budgets. Been there. I want to walk you through the practical parts that actually matter for real world apps.
In this post I cover what PPI means for the web, why it matters for SaaS UI, how browsers treat pixels, and concrete steps you can take to keep interfaces crisp without blowing up load times. Expect simple rules, a few code examples, and a checklist you can use during design and QA.
Quick note on scope
I focus on PPI in web design for SaaS platforms. That includes UI elements, icons, images, fonts, and responsive layout choices that affect clarity. This is not a hardware-level deep dive. Instead I’m sharing how to get visually perfect and high-performance interfaces in browsers and web apps.
What PPI actually means and why it matters
Pixels per inch is a hardware measurement. It tells you how many physical pixels fit into one inch on a screen. Higher PPI means more pixels in the same physical space, which usually equals sharper visuals. But on the web we rarely control the physical display. The browser does. That’s the key thing to understand.
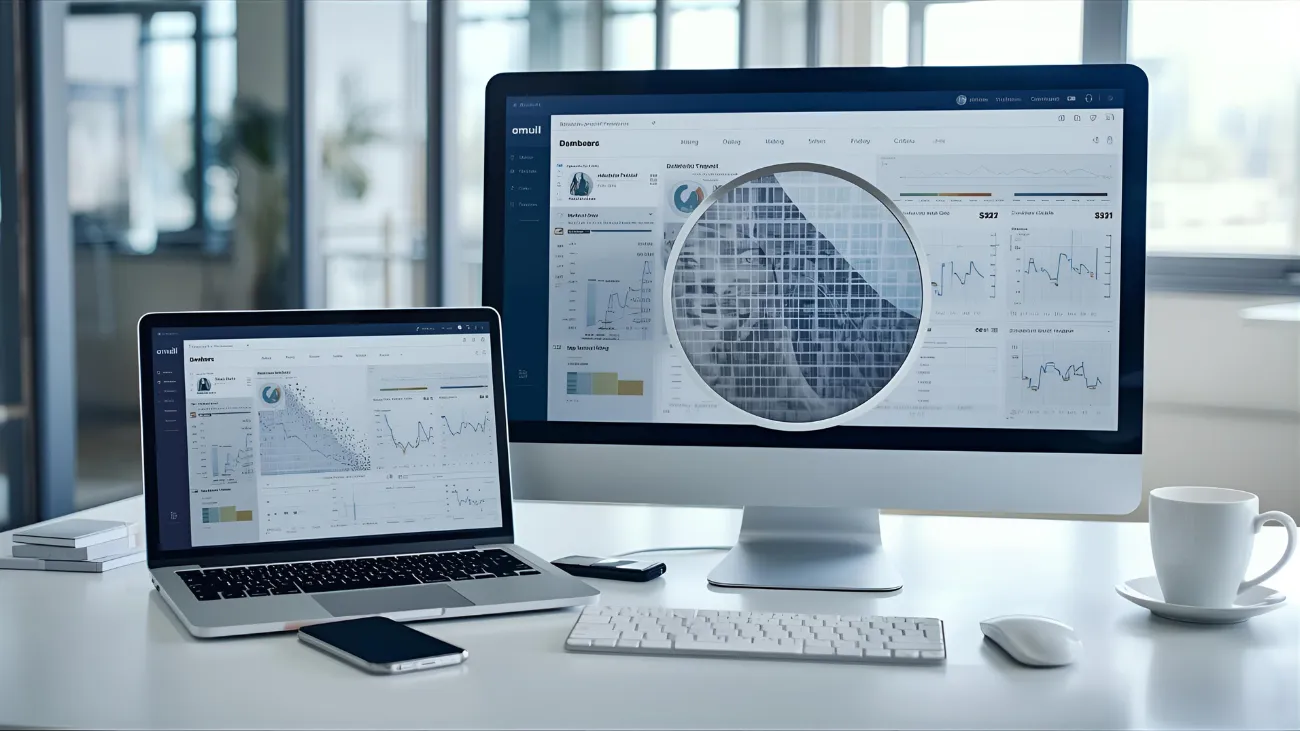
So why care about PPI in web apps? Because your users use many devices. A dashboard that looks crisp on a 13 inch MacBook might blur on a 5 inch phone with a high density display. For SaaS UI clarity matters more than a pretty picture. Poorly optimized visuals make reports hard to read, icons look fuzzy, and text appear jagged. That directly affects user trust and conversion.
DPI vs PPI - cut the confusion
People use DPI and PPI like they are the same. They are related but different. DPI stands for dots per inch and is mostly a print term. PPI is pixels per inch and applies to displays. In practice you can say PPI when you mean screen density. For web discussions we will use PPI or device pixel ratio to avoid print jargon.
How browsers treat pixels - CSS pixels vs device pixels
Here is a practical rule I've learned. Browsers map CSS pixels to device pixels using the device pixel ratio. That ratio is the number you get from window.devicePixelRatio. On a standard screen the ratio is 1. On an iPhone with a retina display it can be 2 or 3. The browser uses CSS pixels for layout, but the underlying device can have many more physical pixels per CSS pixel.
That means a 16px font in CSS looks roughly the same physical size across devices because the browser maps CSS pixels to device pixels. But the same 16px bitmap image will look less sharp on a device with a high device pixel ratio unless you supply higher resolution assets.
Device Pixel Ratio - the number that changes everything
The device pixel ratio is the practical shortcut for PPI when you build web apps. It tells you how many device pixels equal one CSS pixel. You can query it with JavaScript:
const dpr = window.devicePixelRatio || 1;
In my experience, treating DPR as the primary metric simplifies image and icon strategies. If dpr is 2, provide assets at double the CSS size. If it is 3, provide triple. That simple rule keeps UI elements sharp across devices without thinking about the physical PPI.
Common mistakes people make
- Assuming a single image size works everywhere. It does not.
- Using huge raster images for icons instead of SVGs.
- Not testing on devices with DPR 2 or 3. Emulators help, but real devices reveal subtle issues.
- Thinking PPI is a CSS property you can set. You cannot set physical PPI from the page.
- Serving high-res images blindly. That kills performance.
Images and raster assets - practical strategies
Here are concrete rules I use when optimizing bitmap images for SaaS apps:
- Use responsive image markup with
srcsetandsizes. That tells the browser which resolution to choose. - Provide 1x, 2x, and 3x versions for important UI bitmaps like logos and screenshots.
- Convert to modern formats like WebP or AVIF for smaller file sizes while keeping quality high.
- Lazy load images that are offscreen. No need to fetch a 2x screenshot on initial load.
Example image element for a logo or small illustration:
<img src="logo@1x.png" alt="App logo"
 srcset="logo@1x.png 1x, logo@2x.png 2x, logo@3x.png 3x"
 width="120" height="40">
That example is simple. The browser chooses the correct asset based on DPR and the CSS layout. I often also include WebP variants via <picture> for better compression:
<picture>
  <source type="image/webp" srcset="logo@1x.webp 1x, logo@2x.webp 2x">
  <img src="logo@1x.png" srcset="logo@1x.png 1x, logo@2x.png 2x" alt="App logo">
</picture>
Icons and vector assets - when SVG wins
For most UI icons SVG is the best choice. It scales perfectly at any PPI and keeps file sizes tiny when used correctly. Use icon sprites or inline SVG when you need to style icons with CSS or animate them.
There are a few gotchas with SVG. Complex SVGs exported from design tools can be bloated. I always run SVGs through an optimizer like SVGO. Also check that stroke widths and alignment snap cleanly. Small visual details look off at different DPRs if the SVG was not authored carefully.
Text clarity and web fonts
Text is usually the most important thing for SaaS users. A blurry screen makes reading invoices, tables, and dashboards painful. Fonts are rendered by the browser and the operating system. We cannot change PPI, but we can do things that improve legibility.
- Choose web fonts that render well at small sizes. Not every font is crisp at 12px. Test fonts on multiple devices.
- Use variable fonts when it makes sense. They reduce font file sizes and let you fine tune weights.
- Preload critical fonts to avoid FOIT and avoid fallback flashes that shift layouts.
- Avoid letter-spacing hacks that rely on exact pixel widths. They break across DPRs.
I've noticed that subtle font choices make a product feel premium. It is often worth an extra 30 minutes of testing to confirm headings and labels remain crisp on a headset with DPR 3.
Layout and responsive design best practices
Design scalability is not only about assets. Layout choices affect how crisp and usable UI elements feel.
Here are some straightforward rules we follow at Agami Technologies when building SaaS UIs:
- Design using a consistent grid based on rem units. That scales better than fixed pixels across browsers and DPRs.
- Use flexible images and max-width rules so bitmap elements shrink predictably without blurring.
- Keep touch targets large enough in CSS pixels. Aim for 44 by 44 CSS px at a minimum.
- Prefer vector charts or canvas where possible for data-heavy interfaces. They scale cleanly at different DPRs.
Mixing flexible layout with responsive image strategies gives you both clarity and performance.
Media queries for device pixel ratio
You can adapt styles based on DPR. This is handy for small tweaks like swapping in crisp SVGs or adding subtle shadow adjustments:
@media (-webkit-min-device-pixel-ratio: 2), (min-resolution: 192dpi) {
  /* Styles for high density screens */
}
Use these sparingly. Most visual concerns are solved by providing higher-res assets and using vector UI elements. The media query approach is useful for specific fallbacks or platform quirks.
Retina display optimization - simple rules
Retina optimization is often just a matter of multiplying pixel dimensions. For an image displayed at 150 CSS px wide provide an asset 300 pixels wide for DPR 2. For DPR 3 provide 450 pixels. That keeps the image sharp.
But size multiplication has limits. You should also:
- Compress aggressively with WebP or AVIF.
- Use cropped images delivered from a CDN to avoid transmitting extra pixels.
- Serve vector assets when possible to eliminate bitmap scaling altogether.
Charts and data visualizations
SaaS apps often include charts. Big lesson: use vector or canvas based solutions that support DPR scaling. Many charting libraries provide options to scale canvases for high density screens. If your charts are bitmap-based or server-rendered images you will need to produce higher resolution variants.
For canvas charts you can scale the drawing surface with DPR so the chart looks sharp and still responds to pointer events and CSS layout.
const canvas = document.getElementById('chart');
const ctx = canvas.getContext('2d');
const dpr = window.devicePixelRatio || 1;
canvas.width = canvas.clientWidth * dpr;
canvas.height = canvas.clientHeight * dpr;
ctx.scale(dpr, dpr);
// Draw chart using CSS pixel dimensions
That small snippet is often enough to make charts look good on a retina laptop or mobile device without changing your drawing code.
Performance tradeoffs and file formats
Sharp visuals are great until they slow your app. A common pitfall is serving super high resolution images across the board. Here is how to balance quality and speed:
- Target visuals that are essential for clarity. Prioritize logos, icons, and key illustrations for high-res variants.
- Use progressive image delivery. Lazy load below-the-fold images.
- Leverage the CDN to deliver optimized variants based on URL parameters so you only store a single master file.
- Use modern formats like WebP and AVIF. They reduce bytes and keep crispness.
I've seen teams accidentally double or triple the initial payload by including 2x assets for every image without proper lazy loading or conditional delivery. The result: slow first paint and frustrated users. Keep high-res assets targeted and conditional.
Testing strategy - don't guess, measure
Testing across devices is essential. Quick checklist I use:
- Test on at least one device with DPR 1, one with DPR 2, and one with DPR 3 if possible.
- Use browser dev tools to simulate DPR and throttling, but confirm on real hardware when possible.
- Check text legibility, icon sharpness, and chart clarity at typical zoom levels and font sizes.
- Measure network payloads and time to interactive to ensure high-res assets did not hurt performance.
For Selenium or visual regression testing, include screenshots taken at DPR 2 to catch visual regressions on dense displays. It pays off in QA time saved later.
Accessibility and clarity
Good visual clarity helps accessibility. Crisp icons, readable fonts, and clear spacing make your product usable for more people. A few practical accessibility tips:
- Ensure sufficient contrast for text and critical UI elements. Tools like axe-core help here.
- Keep hit targets large and spaced out to prevent mistaken taps.
- Provide semantic HTML so assistive technologies can interpret layouts correctly.
People often forget that a blurred interface is an accessibility problem. It is not only about color contrast and keyboard focus, but legibility across devices as well.
Design scalability - a checklist for designers and engineers
When I work with product teams, I share a short checklist to align design and engineering:
- Design at multiple densities. Provide assets at 1x, 2x, and 3x where necessary.
- Use vector assets for icons and small UI elements.
- Export images from design tools at device pixel multiples rather than scaling up later.
- Document when to use bitmap vs vector for components so engineers know what to expect.
- Include notes about critical font sizes and weight fallbacks for different platforms.
Small operational steps like naming files consistently (icon-name@2x.svg or chart@3x.webp) reduce friction during development and prevent accidental use of the wrong asset.
Example: swapping avatar images for DPR
Here is a simple human example: user avatars. Avatars appear in many places in SaaS apps. A fuzzy avatar makes the whole app feel low quality. You can solve that cheaply.
- Store a single high-resolution master avatar, say 512px square.
- Generate optimized variants at 128px, 256px, and 384px.
- Serve the correct size using
srcsetandsizes. For a 64px display size you may only need the 128px variant on DPR 2 devices.
<img src="avatar-128.webp" alt="User avatar"
 srcset="avatar-128.webp 1x, avatar-256.webp 2x, avatar-384.webp 3x"
 width="64" height="64">
That method keeps the avatar sharp and avoids sending a 3840px photo to a mobile device on slow networks.
CI/CD and automated image processing
Automation saves time. We often add an image processing step in the build pipeline that creates multiple variants and optimizes formats. Tools like sharp, cloud image services, and CDNs with on-the-fly transforms do this well.
Automation reduces human error and ensures consistent naming and quality levels. It also enables A/B testing of formats and compression settings without touching design files.

When to use bitmap over vector
Vectors are great for icons and simple shapes. Bitmaps are better for photographs and complex illustrations with gradients and texture. When in doubt, use vector for UI chrome and bitmap for photographic content. If you need both, create a hybrid strategy: vector icons and compressed, modern image formats for photos.
Tooling and libraries I rely on
I keep my stack lean but effective. The common tools include:
- Sharp for image processing in build pipelines.
- SVGO to optimize SVGs.
- Image CDNs like Cloudinary or Imgix for dynamic transforms.
- Chart libraries that support DPR scaling, or canvas with manual scaling code.
- Browser dev tools and real device labs for testing.
These tools let you ship crisp visuals without building a custom image pipeline from scratch.
Real world examples and tradeoffs
Let me share two quick stories from projects I've worked on.
Project A: We had a CRM where profile photos looked fuzzy on MacBooks with DPR 2. The team initially replaced every image with 2x assets. Load times doubled. The fix was to only serve 2x for avatars and logos, lazy load photos in lists, and convert photos to WebP. The result: crisp UI and negligible performance impact.
Project B: A dashboard with many small icons used raster sprites exported from a designer. Icons appeared misaligned at different zoom levels. Switching to SVG sprites and aligning paths fixed visual glitches and reduced the icon payload by 70 percent. It also made animations simpler.
In both cases the right balance between vector and raster, plus selective optimization, solved the problem. The key is where you invest effort. Not every image needs to be 3x. Prioritize elements that affect clarity and trust.
Monitoring and continuous improvement
After release, keep an eye on performance and visual regressions. Use these signals:
- Core Web Vitals and Time to Interactive for performance impact.
- Visual regression tools to catch fuzzy or missing assets across DPRs.
- User feedback and support tickets referencing low-quality images or unreadable charts.
Small issues often slip through during development. Having automated tests and a clear escalation path helps catch them early and fix them fast.
Simple recap - actionable rules
- Think in DPR rather than physical PPI for web apps.
- Use responsive images with srcset and sizes.
- Prefer SVG for icons and small UI graphics.
- Compress images with WebP or AVIF and use CDNs.
- Scale canvas and charts for DPR via canvas.width and context.scale.
- Test on DPR 1, 2, and 3 devices and measure the impact.
- Automate image variant generation in your build or CDN pipeline.
Common pitfalls and how to avoid them
Here are the typical pitfalls I see in teams and easy ways to avoid them:
- Serving a single asset for all devices. Fix: Add srcset and sizes or use a CDN transform.
- Overloading the initial payload with 2x and 3x images. Fix: Lazy load and only prioritize above-the-fold assets.
- Using heavy SVGs without optimization. Fix: Run SVGO and clean up unnecessary metadata from exported SVGs.
- Neglecting font rendering differences. Fix: Test fonts across browsers and preload critical fonts to improve FCP.
- Future of Branding: AI-Driven Brandmark Creation for SaaS Companies
- What Is UAT Testing? A Complete Guide for Beginners
Putting it together for SaaS teams
Start with a small audit. Pick the top 10 visual elements in your app that users see first - logo, header banner, avatars, primary buttons, critical icons, and charts. Measure their sizes and how they look on DPR 1 and DPR 2 devices. Then prioritize them for optimization.
Designers can export proper assets from the start and name them clearly. Engineers can wire up srcset, CDNs, and lazy loading. Product managers can set acceptance criteria for visual clarity across devices. That small cross-functional alignment avoids rework and improves your product's perceived quality.
Final thoughts
PPI in web design is not about controlling physical pixels. It is about understanding how the browser maps CSS to device pixels and designing around that reality. If you focus on DPR, use vector assets where appropriate, serve optimized images with intelligent delivery, and test on real devices, you will keep SaaS interfaces crisp and fast.
I've worked on products where a little attention to image variants and SVGs made the UI feel polished overnight. It is the kind of improvement users notice before they can explain it. That user perception matters a lot for SaaS platforms competing on trust and clarity.
Helpful Links & Next Steps
- Agami Technologies Pvt Ltd
- Agami Technologies Blog
- Build visually perfect and high-performance SaaS platforms with Agami Technologies.
Want help applying these ideas to your product? Build visually perfect and high-performance SaaS platforms with Agami Technologies. Schedule a one-on-one to walk through your app and get practical recommendations.
Build visually perfect and high-performance SaaS platforms with Agami Technologies.